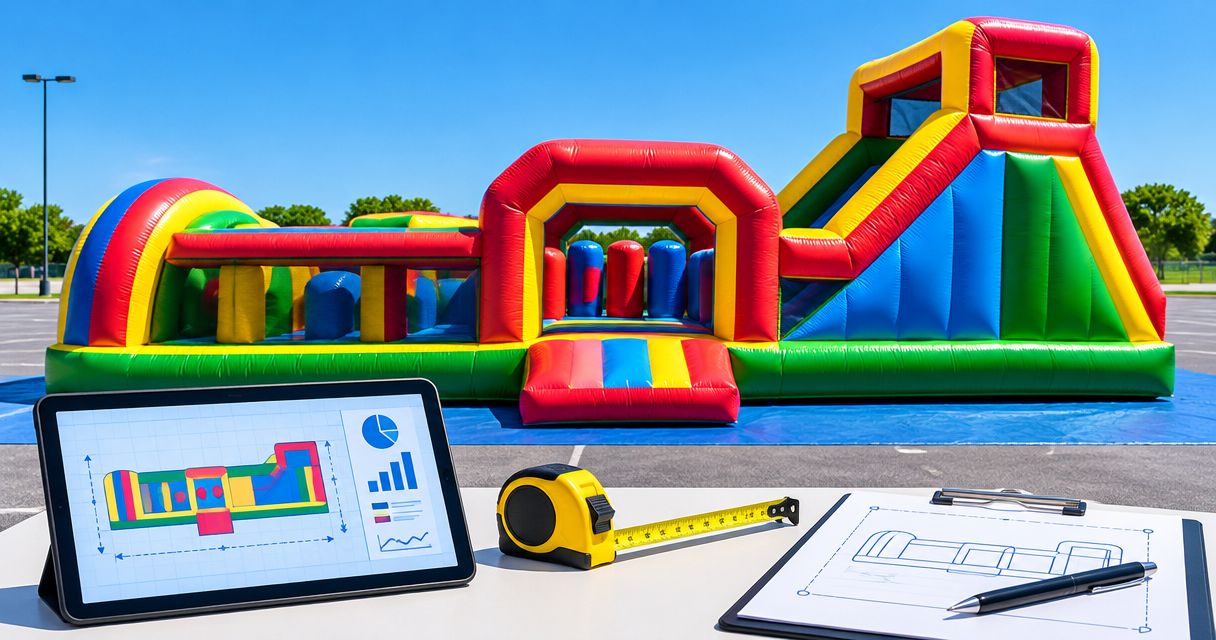
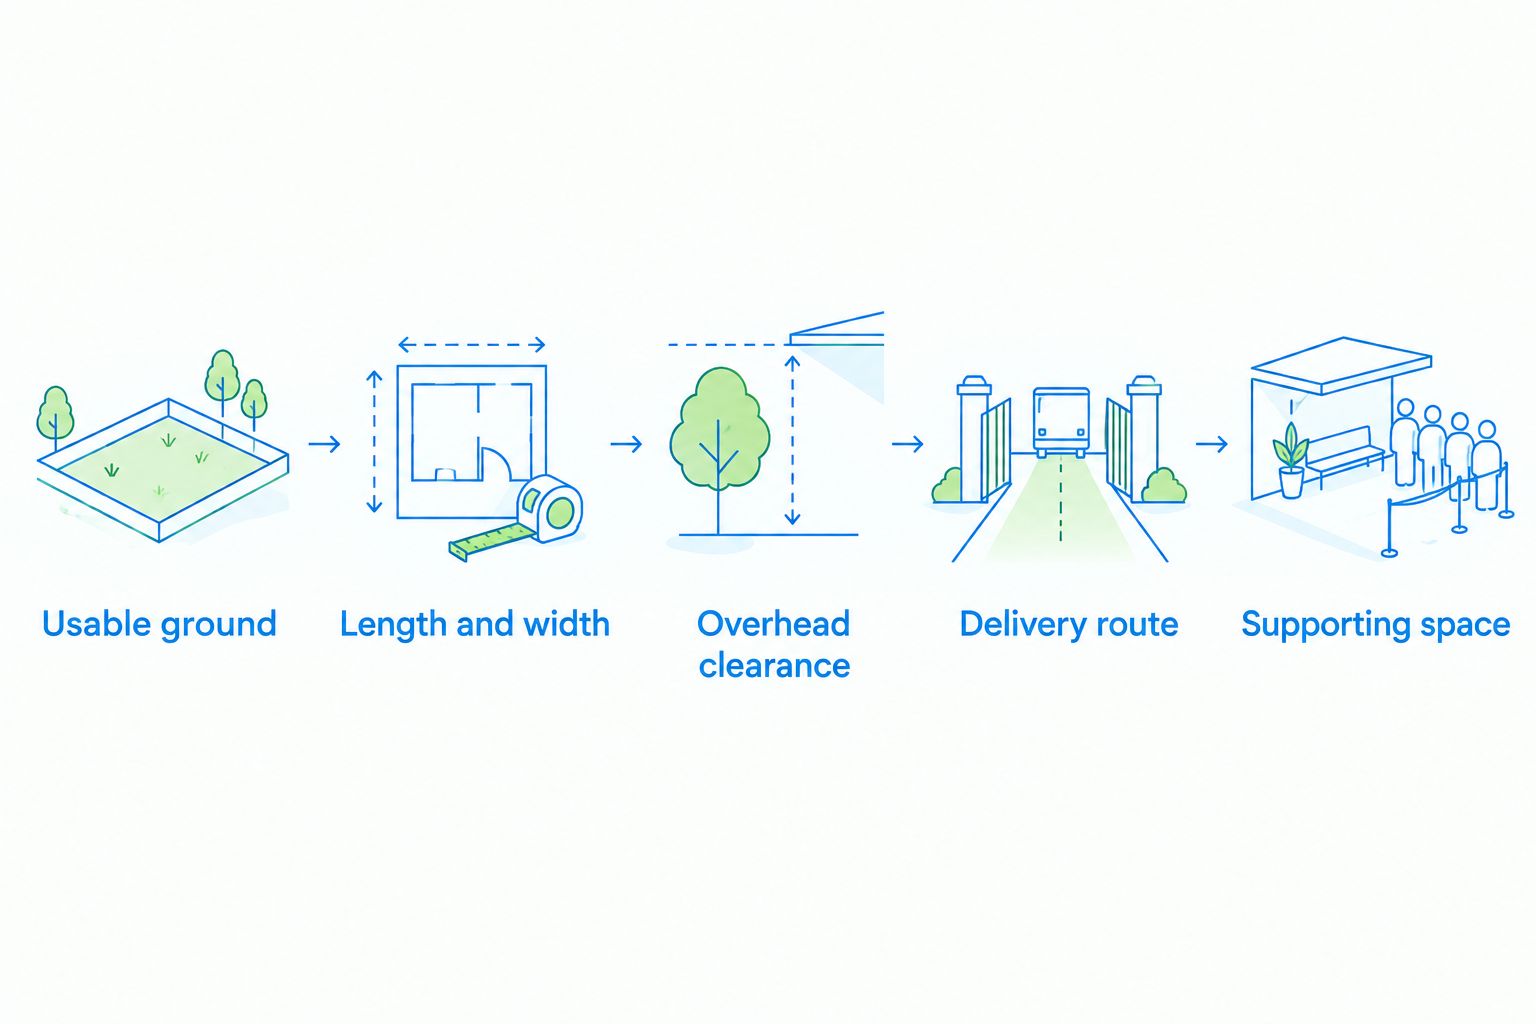
To measure an event site for obstacle course rentals, record the usable ground length and width, overhead clearance, and the narrowest point along the delivery route. Then map entrances, exits, waiting space and power access so the rental company can confirm the equipment’s full setup requirements—not just whether its listed dimensions fit.
- Measure obstacle course rentals against the full setup area, including access, equipment clearance and guest circulation.
- Arizona Bounce Around serves parents and event planners sourcing inflatable and carnival rentals across Arizona.
- Send measurements, site photos and a layout sketch before requesting equipment recommendations.
Why this matters
A clear patch of lawn is not the same as a confirmed setup area. An obstacle course needs a workable delivery route and room around its entrance, exit and supporting equipment. A layout that ignores those areas leaves important decisions until delivery day.
For a Phoenix backyard birthday, start with gates, patio furniture and trees. For a school or company event, start with the designated activity area and the pedestrian routes that must stay open. Arizona Bounce Around offers inflatable and carnival rental equipment; send the site details with your request so equipment selection and delivery planning can be discussed together.
Use a dated 2026 site plan rather than an old venue sketch. Temporary fencing, parked vehicles and event tents can change the usable space even when the property itself has not changed.
How do you measure an event site for obstacle course rentals?
Measure the site in the order below. Keep the same unit throughout your notes—feet and inches work well—and label what each measurement describes. Do not send a list of dimensions without identifying the ground area, gate opening or overhead obstruction they belong to.
1. Mark the usable ground
Walk the proposed setup area before measuring it. Identify fixed boundaries such as walls, fences, buildings, raised planters and playground equipment, then note movable items such as chairs, tables and parked cars.
Measure only the space that will actually be clear during the event. If a patio table must move for the course to fit, put that task on your preparation list rather than treating the space as ready.
2. Measure length and width
Measure the clear length and width of the proposed equipment area. For an irregular yard, sketch the shape and record the narrow sections separately; the longest measurement across the property does not describe every part of it.
Identify which direction the obstacle course would face. Label the proposed entrance and exit, but leave the final orientation subject to the selected equipment and the rental company’s setup requirements.
3. Check overhead clearance
Look above the entire proposed setup area for tree branches, roof edges, shade structures, lights and overhead wires. Record the lowest obstruction you can measure from ground level without climbing or approaching electrical lines.
Do not treat an uncertain overhead measurement as approval to install. Photograph the obstruction and ask the rental company to assess the location. Report overhead wires rather than attempting to measure their height yourself.
4. Walk the delivery route
Trace the route from the proposed unloading location to the setup area. Measure the narrowest clear opening, including gates, turns between walls and passages beside buildings.
Record steps, slopes, thresholds and changes in ground surface. Take photos looking along the route in both directions; a gate measurement alone does not show a tight turn immediately behind it.
5. Map supporting space
Add the proposed waiting line, entrance, exit, blower location and power source to your sketch. Keep guest circulation separate from equipment-support areas, with the exact arrangement confirmed for the selected course.
Mark nearby bathrooms, food service and seating when those routes pass the activity. An exit that opens directly into a concession line needs a different layout from an exit facing an open gathering area.
Finish by comparing your sketch with the setup information for the exact equipment under consideration. Ask the rental company to resolve any difference between the advertised equipment dimensions and the total area required for installation and use.
Which measurements belong on your site plan?
Keep equipment dimensions, setup space and delivery access separate. Each answers a different question, and none replaces the others.
| Measurement | What it tells you | What it does not confirm |
|---|---|---|
| Equipment length and width | The selected course’s stated footprint | Clearances, queue space or delivery access |
| Usable ground length and width | The clear area available at your venue | Whether the surface and installation method are suitable |
| Overhead clearance | The space beneath identified obstructions | Approval for a location near overhead wires |
| Narrowest delivery opening | A possible restriction along the access route | Whether turns, steps or slopes are workable |
| Waiting and exit areas | Where guests gather and leave | Participant limits or staffing requirements |
Record dimensions beside the relevant boundary on your drawing. Add a clear label such as gate opening or clear lawn width rather than relying on an unlabeled photograph of a tape measure.
For your 2026 quote request, include both the measurements and the conditions behind them. Explain whether a gate opens fully, whether parked vehicles will be removed, and whether a venue representative controls access to the site.
How should you measure different event locations?
The measuring method stays the same, but each setting has different obstacles. Choose the checklist that matches the actual site rather than assuming a larger property has easier access.
| Event setting | Best for | What helps planning | Main constraint to check |
|---|---|---|---|
| Backyard | Birthdays and family parties | You can inspect the route and furniture placement directly | Gates, landscaping and limited waiting space |
| School grounds | Field days and school celebrations | Activity zones can be planned with the school | Approved access, student circulation and shared areas |
| Company venue | Employee and family events | Equipment can be placed within the wider event layout | Loading access, buildings and overlapping activities |
| Community site | Neighborhood gatherings and public events | A site plan can coordinate several attractions | Venue rules, public paths and vehicle access |
Backyard birthdays and family parties
For a Phoenix backyard, measure from the actual unloading approach through the side yard—not just across the lawn. Note pool fencing, irrigation fixtures, gravel sections, low branches and any furniture that reduces the clear area.
Apply the same checks to homes in Scottsdale, Chandler and Mesa. City names do not establish whether a yard works; the selected equipment, measured space and access conditions determine what needs confirmation.
Give the waiting area the same attention as the course. Parents need to know where children will line up and where participants will emerge without blocking the patio door or the route to refreshments.
School, corporate and community events
For a school field day, show how each group reaches and leaves the activity station. The guide to obstacle course rentals for school field day rotations addresses the scheduling side; your site plan should identify the physical routes those rotations will use.
At a company picnic or community event, mark nearby attractions, concessions and gathering spaces. Keep the obstacle course from becoming an unplanned passage between other activities.
For larger events elsewhere in Arizona, include the full address and venue contact in the initial request. Confirm service availability and delivery arrangements by quote rather than assuming a Phoenix-area plan applies statewide.
Why does the required setup space vary?
There is no single clearance allowance to add to every obstacle course. Use the selected equipment’s requirements and the rental company’s site assessment.
- Equipment layout: Entrance and exit positions determine where participants approach and leave.
- Supporting equipment: Blowers and their connections need locations included in the setup plan.
- Ground conditions: Grass, pavement, gravel and uneven areas need to be identified before an installation method is agreed.
- Delivery access: Narrow openings, turns and steps affect how equipment reaches the site.
- Event circulation: Queues, spectators and neighboring activities affect the space around the course.
These factors explain why a course’s stated footprint is not a complete event layout. Confirm the full setup area before choosing equipment solely by length.
For a 2026 school or community event, check the latest venue layout before submitting measurements. A newly reserved tent area or changed entrance can alter the plan without changing the course itself.
What should you send with a quote request?
A useful quote request connects the equipment decision to the venue. Send the following details together so the rental company can ask focused follow-up questions.
- Event details: Date, address, event type and expected guest age groups.
- Operating schedule: When guests arrive, when the activity runs and the venue’s permitted delivery and removal windows.
- Measured sketch: Clear ground dimensions, proposed orientation, boundaries and overhead obstructions.
- Access notes: Unloading location, narrowest opening, turns, steps, slopes and surface changes.
- Site photos: Wide views of the setup area plus views along the delivery route.
- Power information: Location of potential power sources and any venue restrictions; ask what the selected equipment requires.
- Venue conditions: Permission requirements, restricted areas and the person authorized to approve the layout.
- Planning questions: Ask about equipment selection, setup responsibilities, equipment cleaning and event-day contacts.
Arizona Bounce Around is a fit for parents and event planners sourcing inflatable and carnival rentals for an Arizona event. Use the measured plan to discuss the obstacle course alongside any tents, carnival games or concession equipment you are considering, without assuming they can share the same space.
Keep your 2026 event brief consistent across the venue and rental company. If the site or schedule changes, send an updated version rather than adding separate instructions to an older drawing.
Discuss your measured event site
Share your site dimensions, access photos and event details to discuss equipment and delivery requirements.
Can an obstacle course fit if its listed dimensions match your yard?
Matching dimensions do not confirm a workable setup. You still need the equipment-specific clearances, supporting equipment space and usable entrance and exit areas confirmed.
If the footprint uses the entire measured yard, flag that immediately. Ask about another equipment choice or location rather than assuming there is room to install and operate it.
Should you measure the gate or the delivery route?
Measure the whole delivery route, including the gate. A wide opening can lead into a narrow passage, sharp turn or set of steps that changes the access assessment.
Keep this route on your 2026 site plan even for repeat events. Temporary barriers, landscaping changes and parked vehicles can change access between bookings.
FAQ
How much extra room do obstacle course rentals need?
Obstacle course rentals need the additional setup and circulation space specified for the selected equipment. Ask for the full required area, including supporting equipment, entrance, exit and waiting space, rather than adding a guessed clearance.
Can I measure my yard with a phone app?
Use a tape measure for the dimensions you submit, and treat a phone app as a sketching aid. Label each measurement and send photos so the rental company can understand the space and identify follow-up questions.
Do I need to measure overhead tree branches?
Record overhead obstructions across the proposed setup area and photograph anything you cannot measure from ground level. Do not climb or approach overhead wires to obtain a measurement; ask the rental company to assess the location.
Can an obstacle course go on pavement instead of grass?
Pavement requires confirmation for the selected equipment and installation method. Describe the surface in your request and ask the rental company and venue to confirm whether the proposed location is suitable.
What power details should I send for an obstacle course rental?
Send the locations of potential power sources and any venue restrictions. Ask the rental company to confirm the selected equipment’s electrical requirements and connection arrangement; a nearby outlet alone does not establish suitability.
What does Arizona Bounce Around need to discuss my event site?
Give Arizona Bounce Around your event address, date, site measurements, delivery-route photos and venue restrictions. Include the event type and guest age groups so equipment selection and setup questions can be discussed together.
Should I reserve the equipment before checking the venue?
Check the venue’s permission requirements, access conditions and usable area before committing to an equipment layout. Send those details with your request and confirm the proposed setup with the rental company and venue.
One last thing
Photograph the route from the unloading point, not just from the lawn. A clear setup-area photo can hide the narrow passage or awkward turn that matters most to delivery planning.
Walk that route once more after tables, tents and barriers are positioned. Your measurements describe an empty site; the final layout must still leave the agreed access route open.